

So, my five-year-old daughter, like most every other five-year-old girl right now, is Frozen-obsessed. Of course, for the past few months anything Frozen-related has been almost impossible to find. I know The Girl wanted an Elsa costume. After studying several pictures of Elsa and checking out dozens of sewing pins on Pinterest, I came up with a plan to sew her a simple Elsa costume.
This was a scary task for me. I haven't sewn anything since I was pregnant with The Girl. But I pulled out the sewing machine, dusted it off and went shopping for supplies.
This is what I bought:
- one white long-sleeved leotard
- one yard of blue satin (for the skirt)
- half a yard of blue sequin knit (for the bodice)
- one yard of white organza (for the cape)
- matching blue thread
- white thread
This only cost about $40. I could've gotten cheaper fabric or found a thrift shop leotard if I wanted to do it cheaper. The dress came out looking pretty nice and it was pretty easy to make, so I thought I'd share how I did it. If you are going to make it for a child that wears something other than a 4/5/6, you may want to adjust the amount of fabric you buy accordingly.
The Tutorial
Step One:
Put your child in the leotard inside out and marked with a sewing pencil about an inch under the armpits. Then take some measurements, you will need a chest measurement, waist measurement, chest-to-waist measurement and length measurement. With the length measurement, measure from where you took the chest measurement to however long you would like the dress. I chose to have it come to my daughter's ankles so she wouldn't be tripping over it all the time, but you can make it go to the floor if you like.
Step Two:
Make sure you give yourself at least a quarter inch seam allowance and cut the leotard bottom off where you marked. Put that aside.
Step Three:
Double the waist measurement and add the appropriate amount for seam allowances. Cut the fabric to this width and then take the length measurement and add the appropriate amount for one seam allowance on the top and at least a quart to half inch on the bottom for a hem. If you decide to serge or use a fabric that doesn't fray, you can skip the hem. Cut the fabric to the length. You will end up with a really large rectangular piece of fabric.
Depending on the fabric, you may want to iron it and press the hem in. If you are hemming, then you will do a nice short straight stitch to hem. I wanted a quick hem, so I made a large hem, but if you feel like a tiny 1/8" hem, go for it!
Step Four:
Take your fabric and fold in half with the outside facing in. Line up the ends and sew the seam.
Step Five:
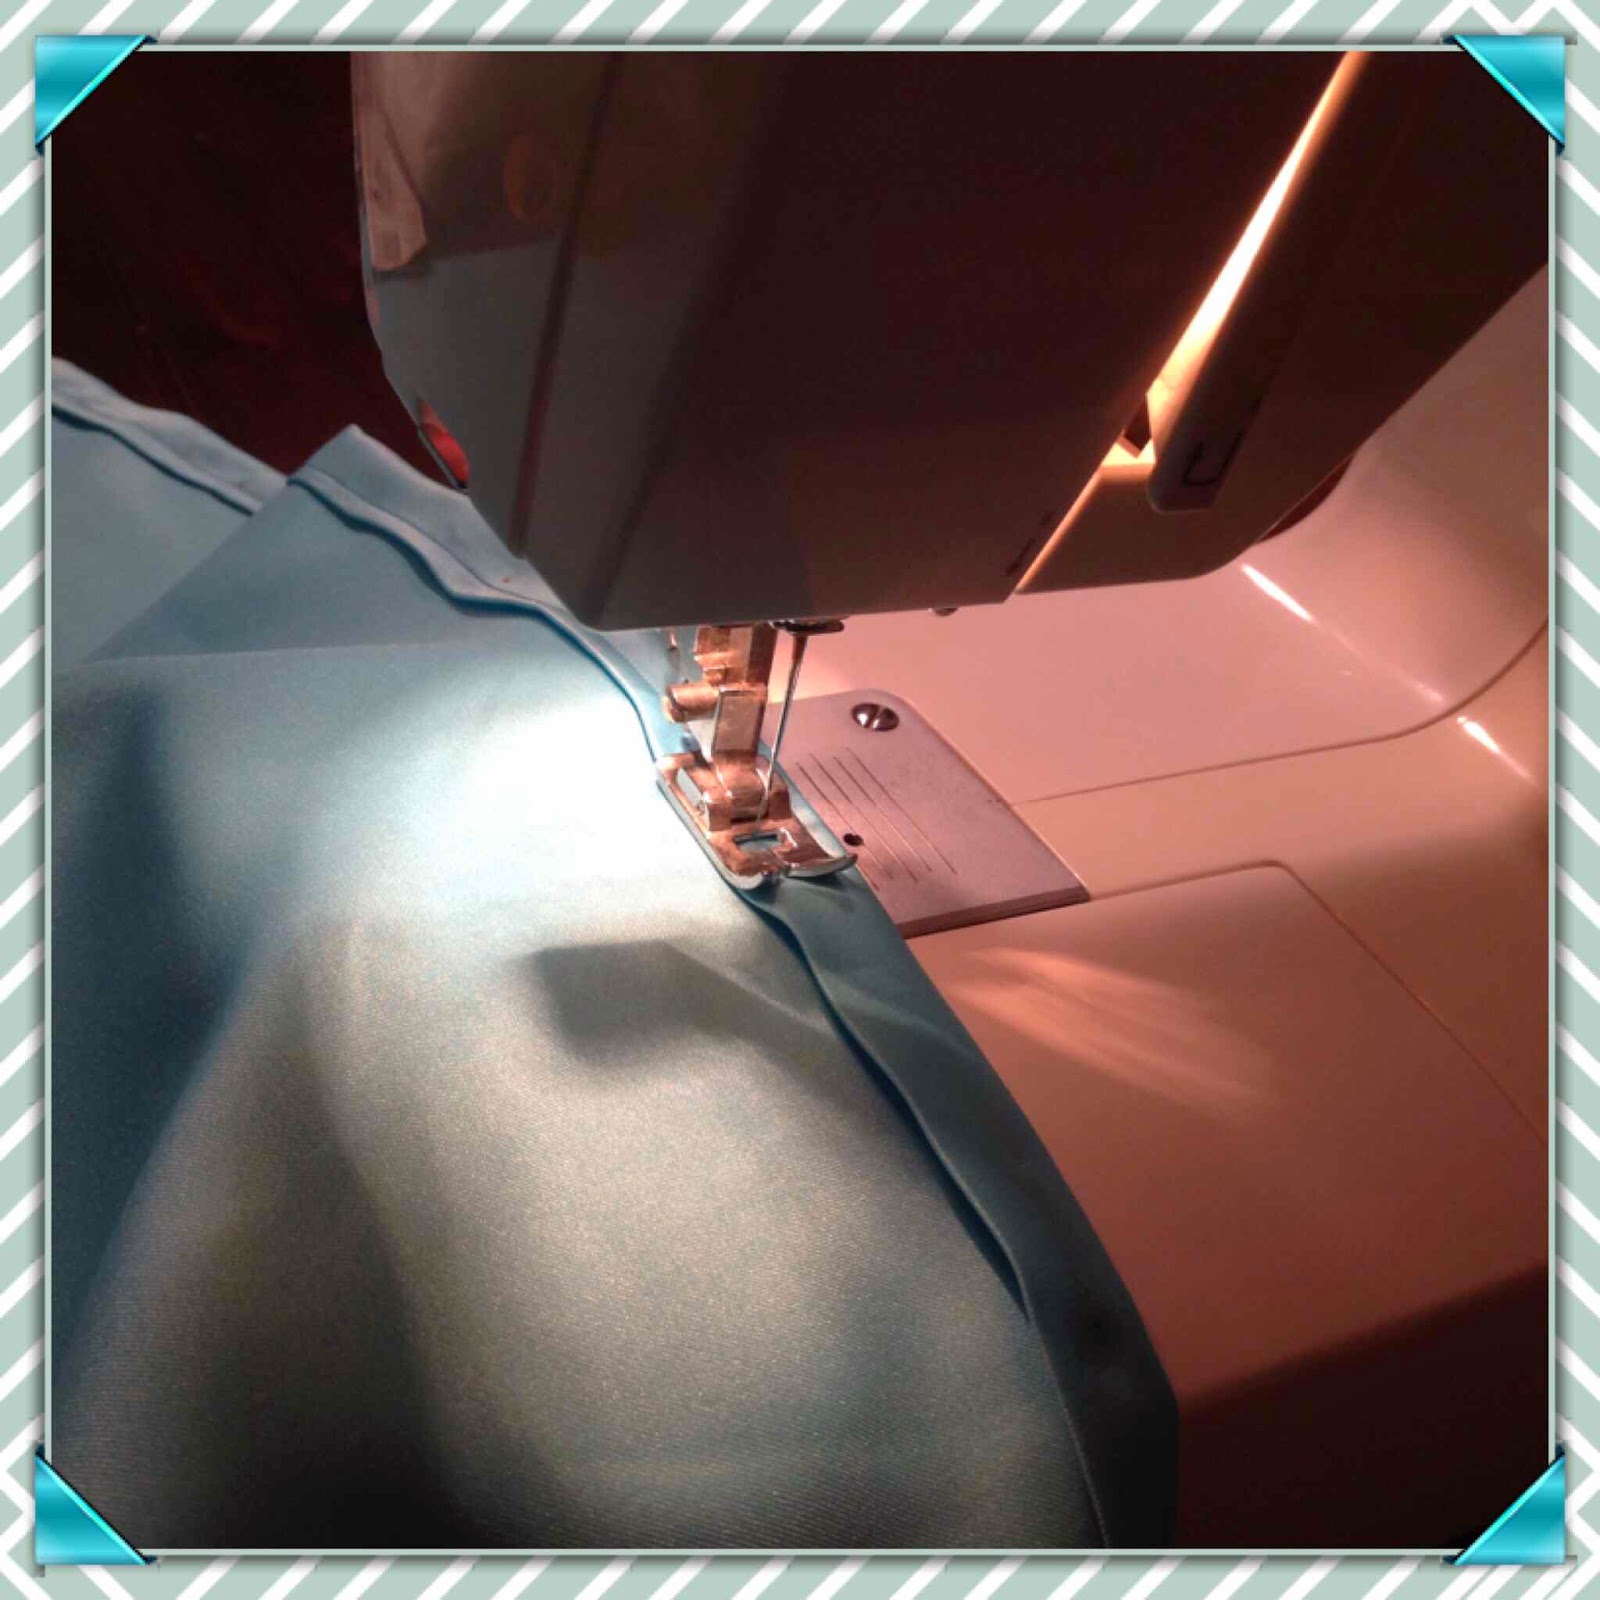
Now pin the skirt to the top of the cut leotard. You will be working with both pieces inside out, but the seams will be outside to outside. Start with pinning the opposite sides of the skirt to the opposite side of the leotard. Do the same front to back. The pin evenly in between. It will look like the picture below.

Step Six:
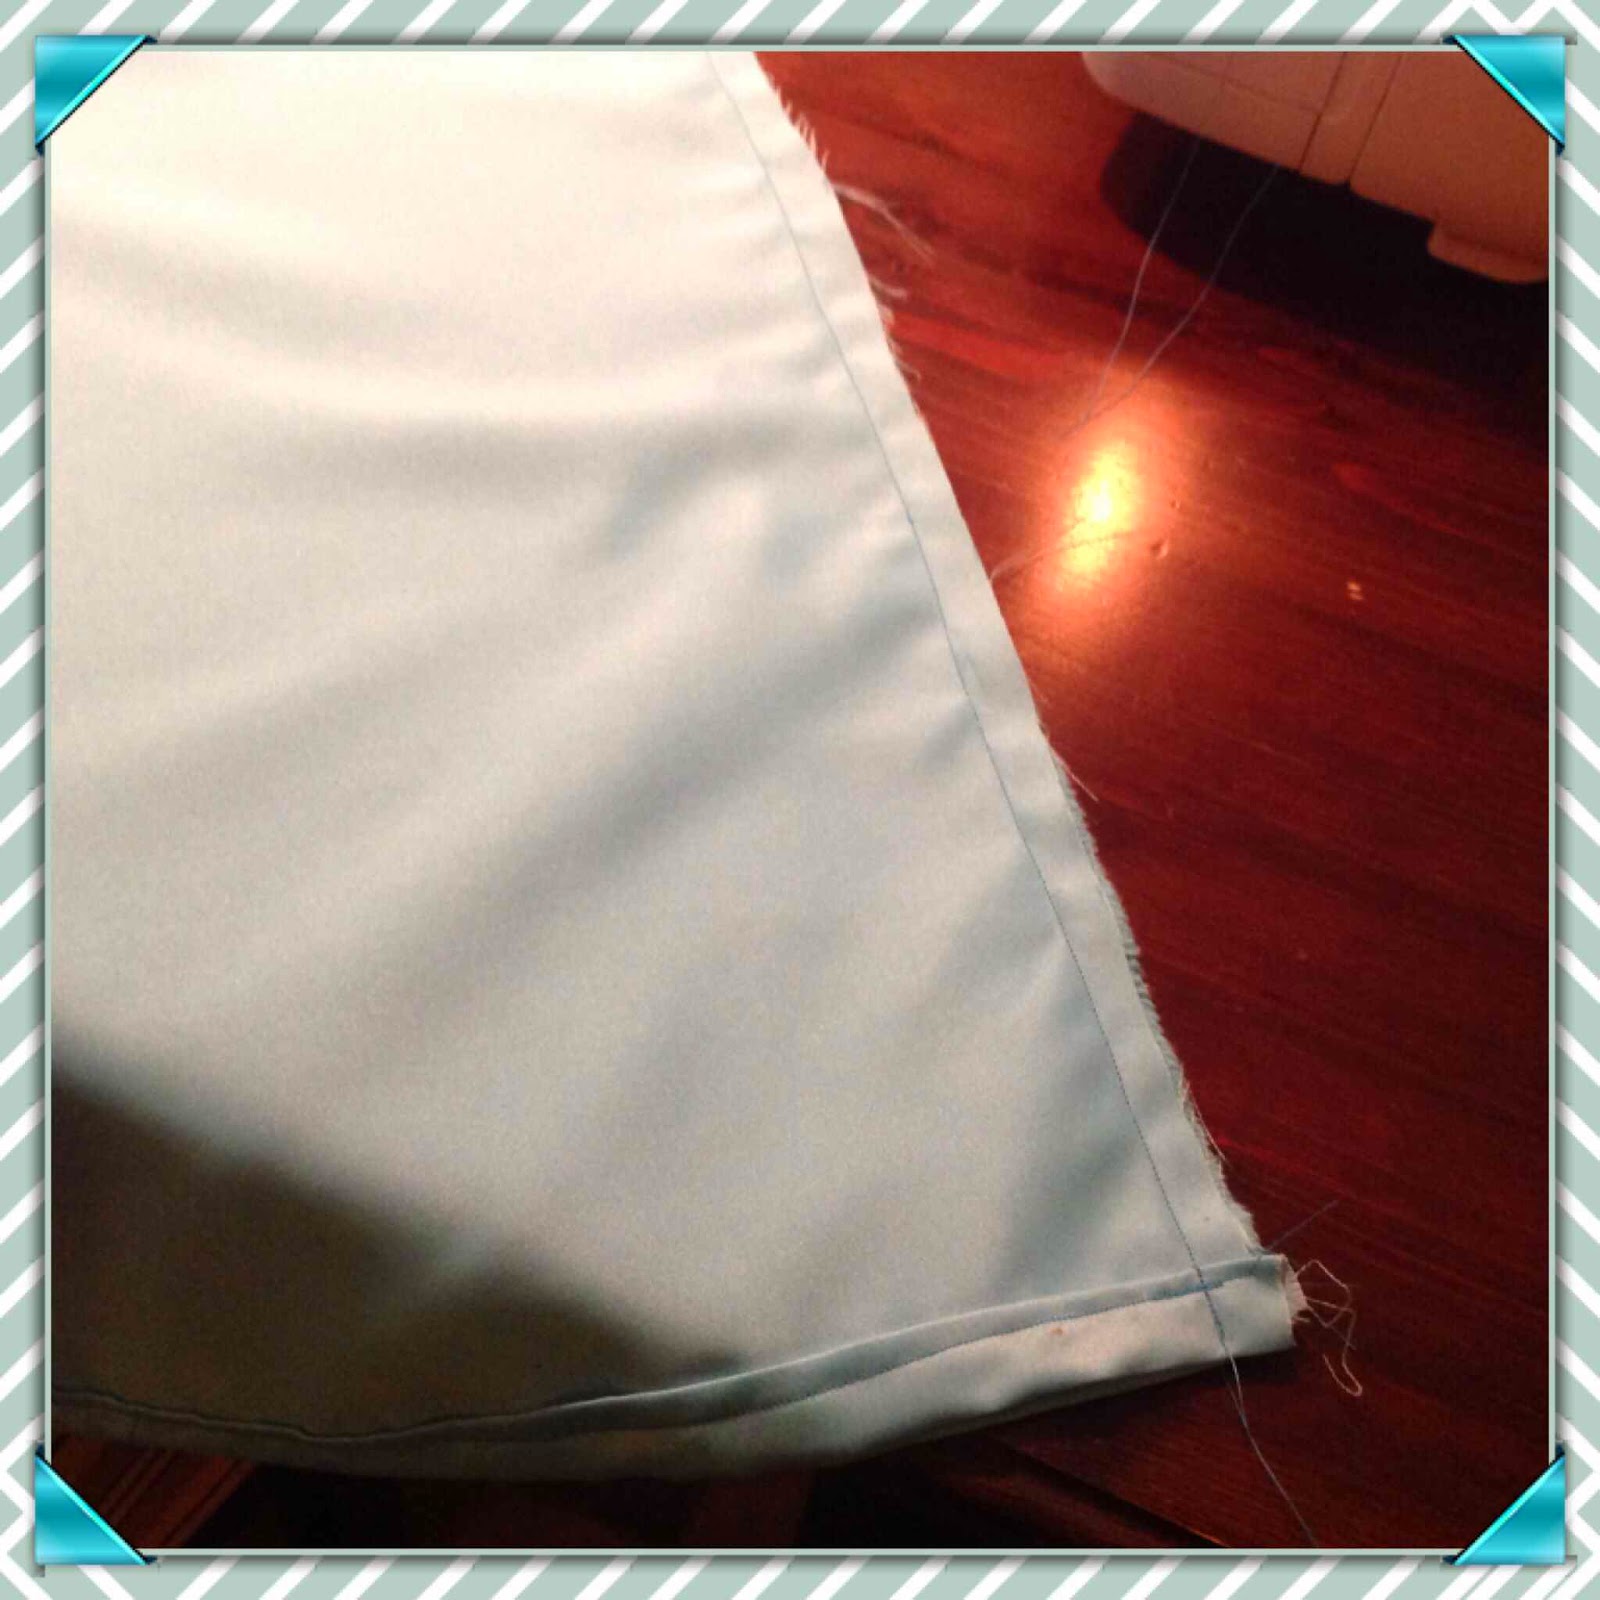
This is the trickiest part, and the part I don't have a photo of me doing. You will sew the two pieces together using a wide zig zag stitch. This will help keep the stretch. As you sew, stretch the fabric. The skirt will gather nicely and you will still be able to stretch the leotard. When turned right side out, it will look like the picture below.

It's actually a really cute dress at this point. I'm probably going to make some dresses like this using tank tops or T-shirts and a different skirt fabric. Anyhow....
Step Seven:
Now you take the chest measurement and take your bodice fabric, fold in half and mark the top, keeping in mind of seam allowances. I also added an inch to help with stretch. Measure down from the chest measurement using the chest-to-waist measurement. Mark. Then mark the waist measurement on the bottom. Add hem allowances on the top and bottom. When you cut, it may be a slight trapezoid, depending on if the chest and waist measurements are different. Because you folded the fabric in half, you will have two pieces, a front and back.

Step Eight:
Take these two pieces and hem the top and bottom of each. Then put them together outside to outside and sew the seams on both sides. If you are using a stretchy fabric, make sure you use a stretch stitch like a zig zag. When you finish and turn it out, it will look like this:

Put the bodice aside.
Step Nine:
Take the cape fabric. I used organza. If I were to do it again, I might go for bridal illusion instead. Organza, even though pretty and more durable, is not easy to work with. It loves to roll and really cannot be ironed without a lot of caution.
Take the chest measurement and mark on both sides. Measure the length and mark. Keep in mind hem allowances if you decide to go with organza or another fraying fabric. You can cut a rectangle at this point or do what I did and angle the fabric out to make it more like a flowy cape. Hem all sides but the top if needed.
If using organza, I found that the zig zag stitch was the way to go.

Step Ten:
With the bodice turned inside out, take the cape and attach it to the top, back of the bodice. The cape will be facing up like in the picture below.

Again, if your bodice is made of stretchy material, make sure you are using a zig zag stitch and stretching as you sew. When you turn the bodice out, you will pull the cape to the outside, so the cape is attached to the inside.
Then you pull the bodice over the dress you made earlier and attach it slightly above the seam where the leotard and skirt meet.

The back

The front
And that's it. I didn't attach the bottom of the bodice to provide for more movement.
This is the final product:

And you can see it on The Girl at the beginning of this post. She enjoys it and wears it nearly everyday.
Hope you enjoy and have fun sewing this creation. My next project will be Anna's travel dress. We'll see how that goes.
No comments:
Post a Comment
Anyone can comment, but be civil. I reserve the right to moderate the comments if I think they are inappropriate.