Wednesday, May 7, 2014

Elsa Dress Tutorial


So, my five-year-old daughter, like most every other five-year-old girl right now, is Frozen-obsessed. Of course, for the past few months anything Frozen-related has been almost impossible to find. I know The Girl wanted an Elsa costume. After studying several pictures of Elsa and checking out dozens of sewing pins on Pinterest, I came up with a plan to sew her a simple Elsa costume.

This was a scary task for me. I haven't sewn anything since I was pregnant with The Girl. But I pulled out the sewing machine, dusted it off and went shopping for supplies.

This is what I bought:

  • one white long-sleeved leotard
  • one yard of blue satin (for the skirt)
  • half a yard of blue sequin knit (for the bodice)
  • one yard of white organza (for the cape)
  • matching blue thread
  • white thread
This only cost about $40. I could've gotten cheaper fabric or found a thrift shop leotard if I wanted to do it cheaper. The dress came out looking pretty nice and it was pretty easy to make, so I thought I'd share how I did it. If you are going to make it for a child that wears something other than a 4/5/6, you may want to adjust the amount of fabric you buy accordingly.

The Tutorial

Step One:

Put your child in the leotard inside out and marked with a sewing pencil about an inch under the armpits. Then take some measurements, you will need a chest measurement, waist measurement, chest-to-waist measurement and length measurement. With the length measurement, measure from where you took the chest measurement to however long you would like the dress. I chose to have it come to my daughter's ankles so she wouldn't be tripping over it all the time, but you can make it go to the floor if you like.

Step Two:

Make sure you give yourself at least a quarter inch seam allowance and cut the leotard bottom off where you marked. Put that aside.

Step Three:

Double the waist measurement and add the appropriate amount for seam allowances. Cut the fabric to this width and then take the length measurement and add the appropriate amount for one seam allowance on the top and at least a quart to half inch on the bottom for a hem. If you decide to serge or use a fabric that doesn't fray, you can skip the hem. Cut the fabric to the length. You will end up with a really large rectangular piece of fabric.

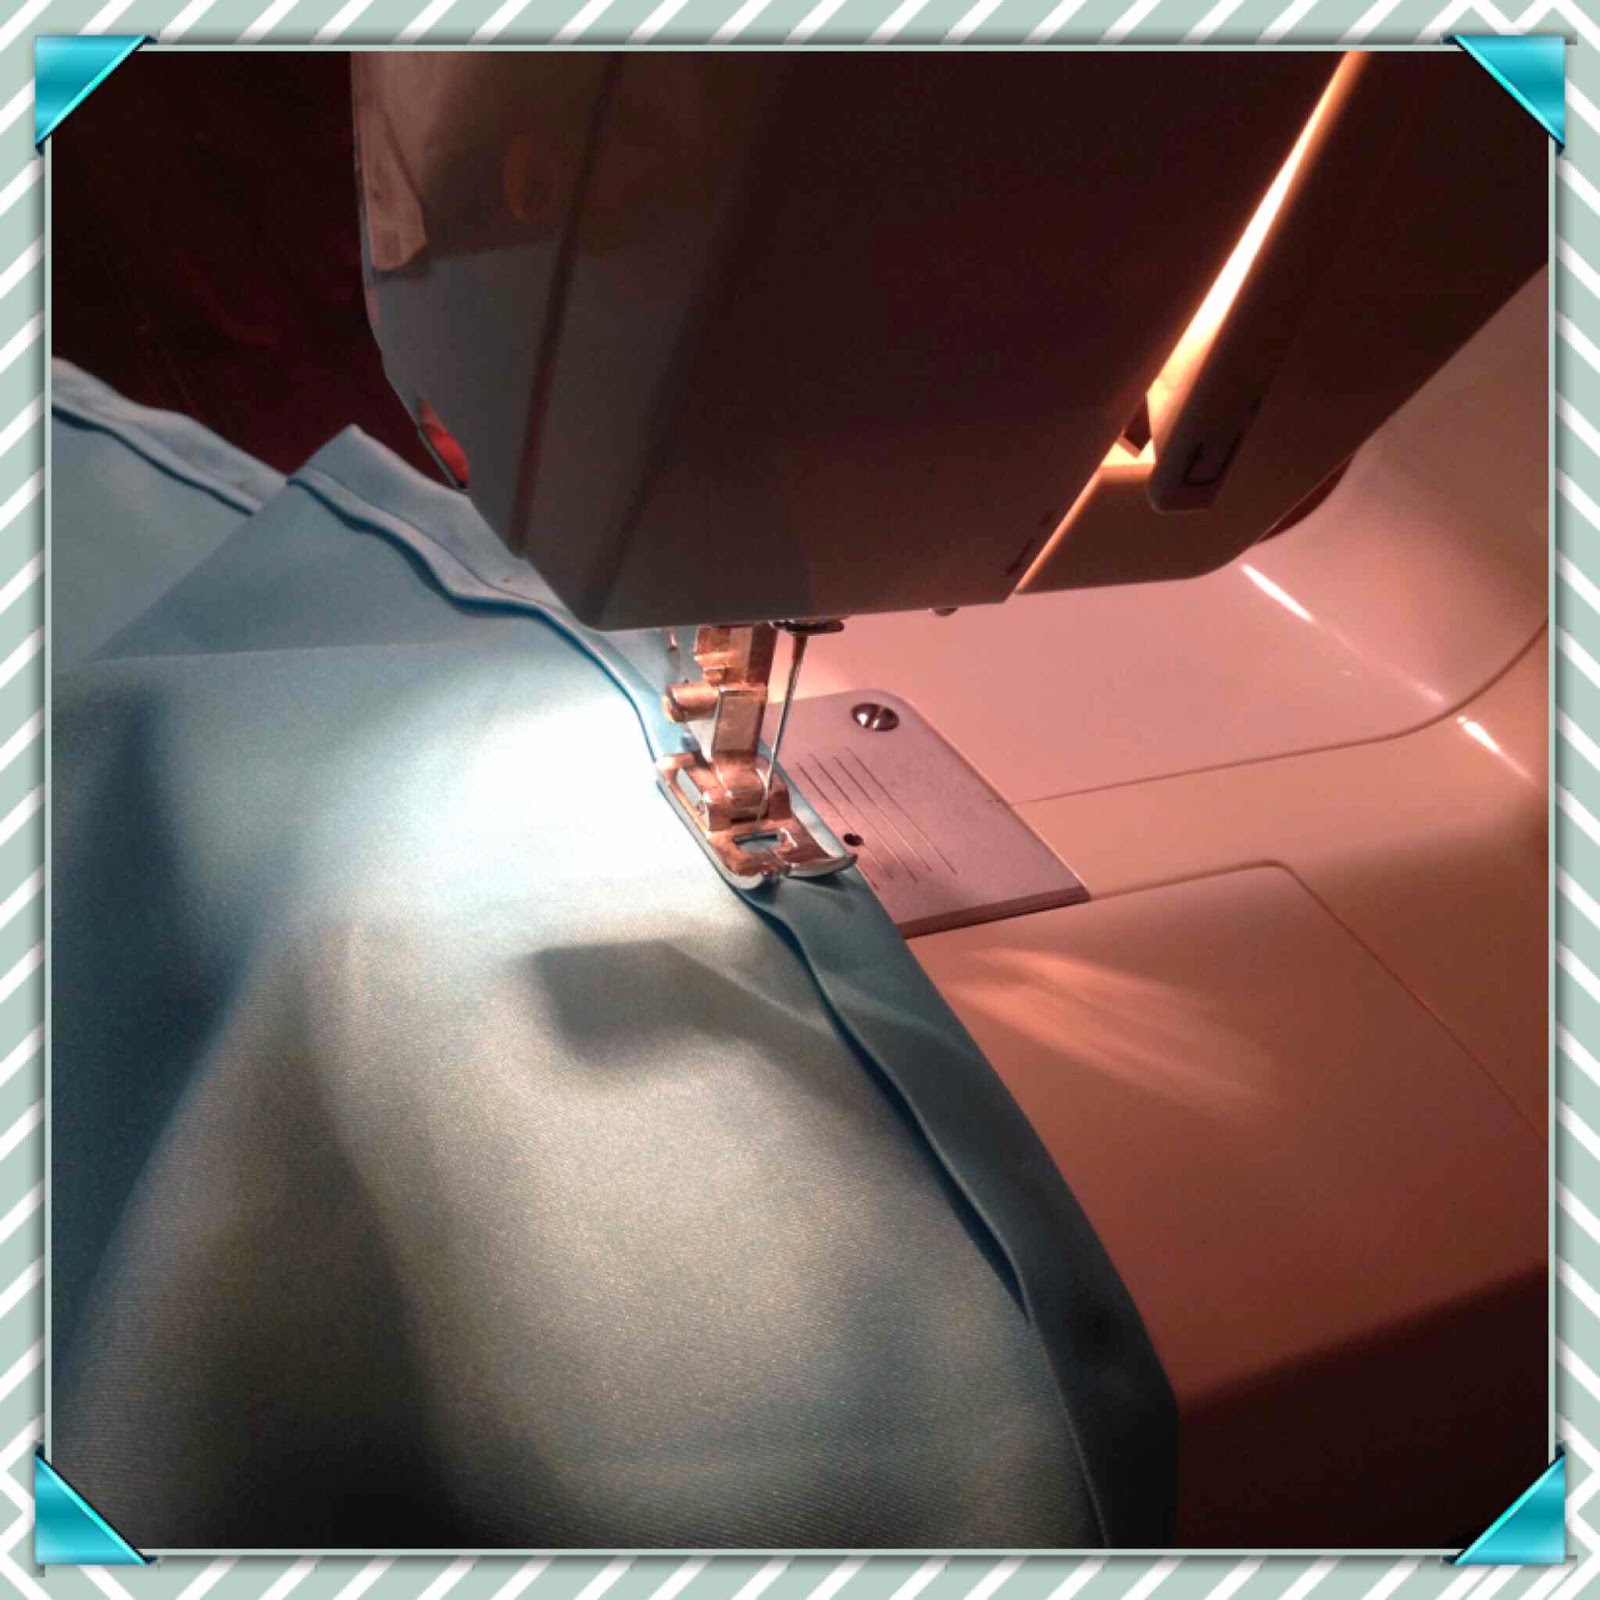
Depending on the fabric, you may want to iron it and press the hem in. If you are hemming, then you will do a nice short straight stitch to hem. I wanted a quick hem, so I made a large hem, but if you feel like a tiny 1/8" hem, go for it!

Step Four:

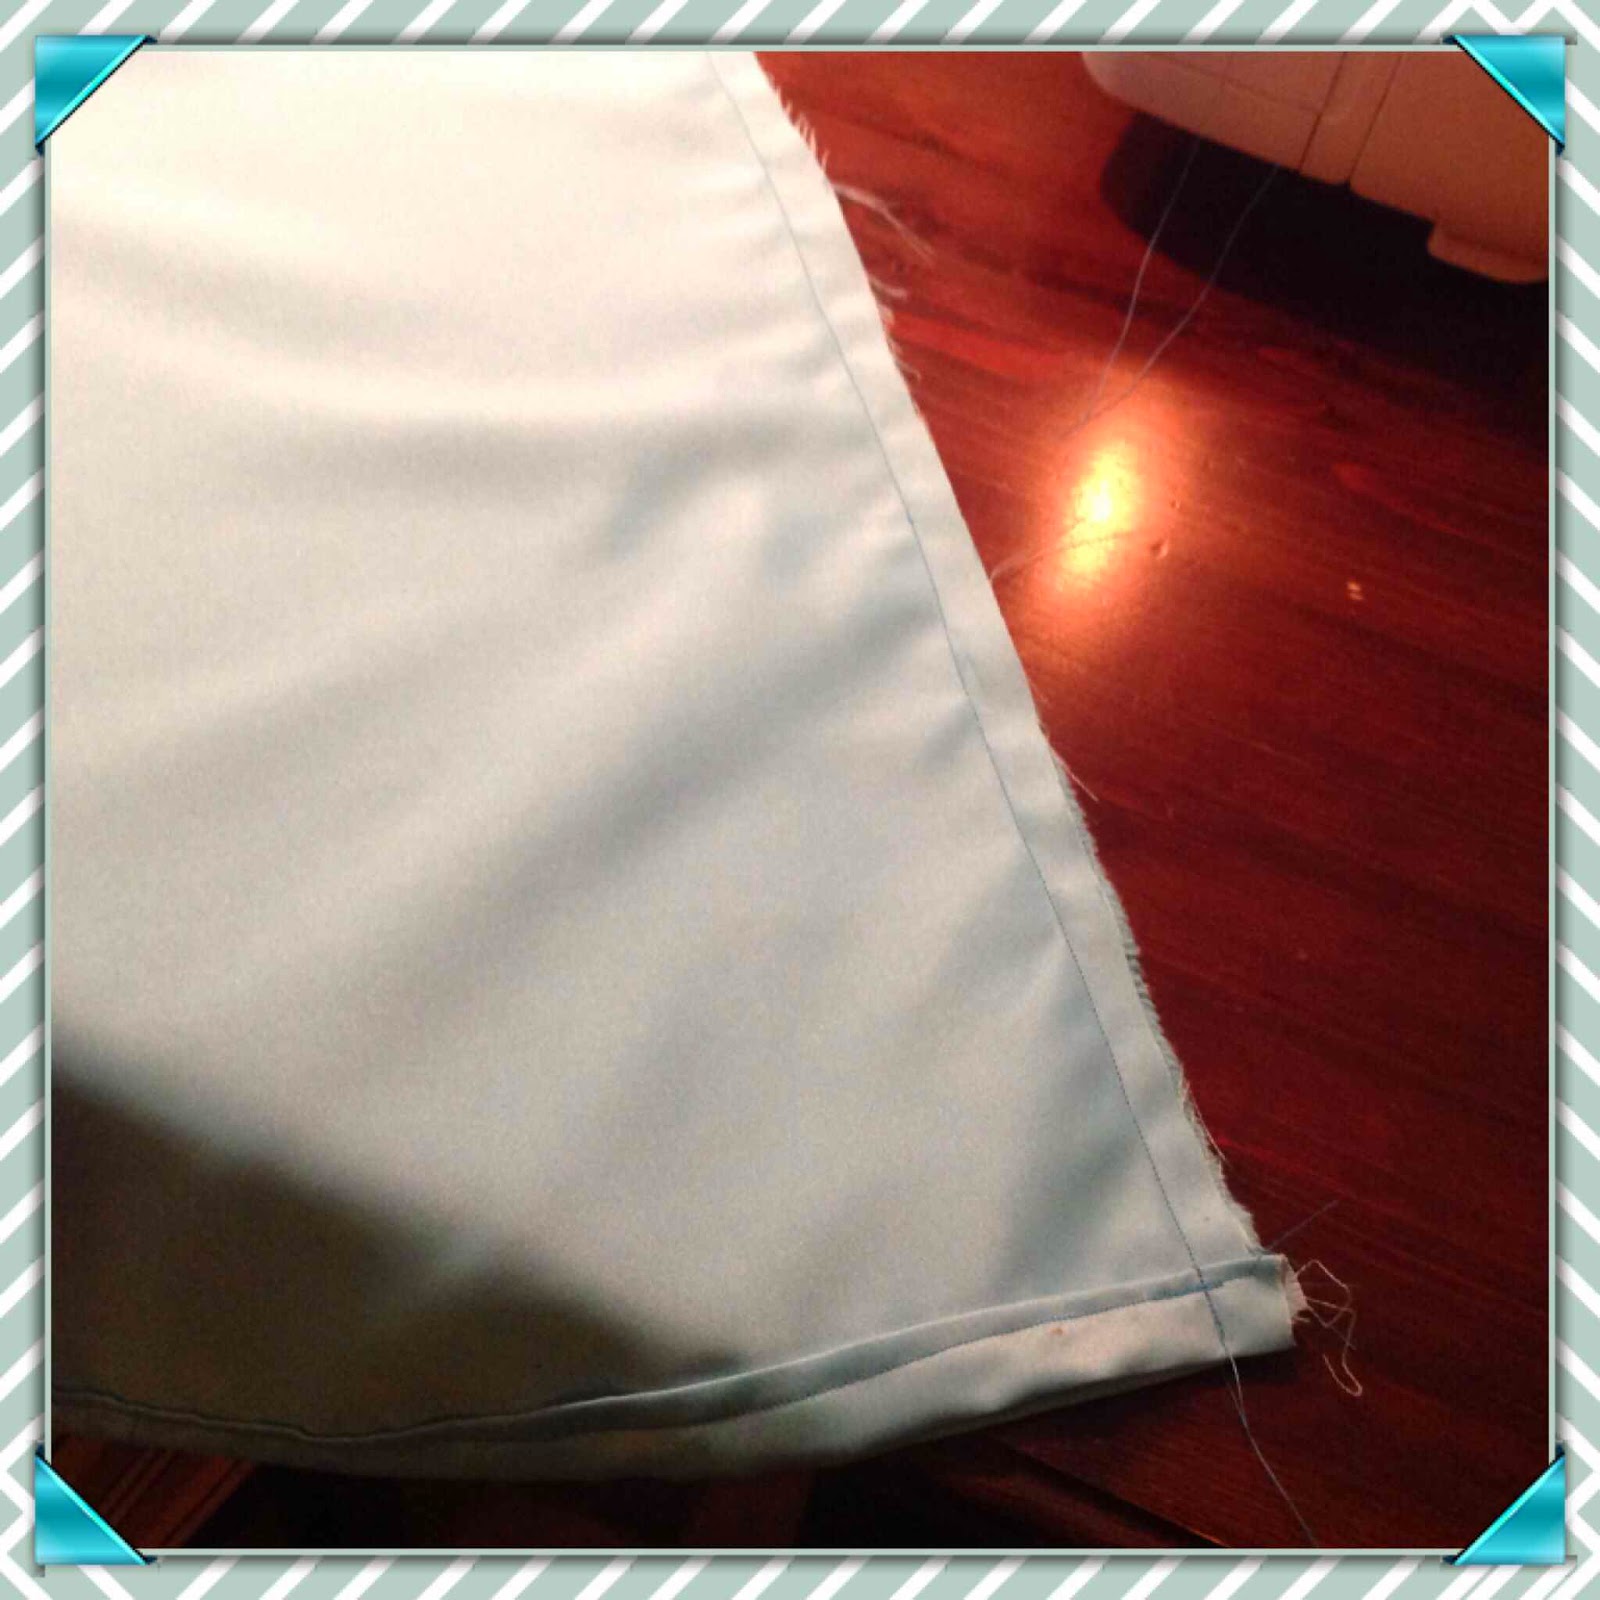
Take your fabric and fold in half with the outside facing in. Line up the ends and sew the seam.

Step Five:

Now pin the skirt to the top of the cut leotard. You will be working with both pieces inside out, but the seams will be outside to outside. Start with pinning the opposite sides of the skirt to the opposite side of the leotard. Do the same front to back. The pin evenly in between. It will look like the picture below.


Step Six:

This is the trickiest part, and the part I don't have a photo of me doing. You will sew the two pieces together using a wide zig zag stitch. This will help keep the stretch. As you sew, stretch the fabric. The skirt will gather nicely and you will still be able to stretch the leotard. When turned right side out, it will look like the picture below.


It's actually a really cute dress at this point. I'm probably going to make some dresses like this using tank tops or T-shirts and a different skirt fabric. Anyhow....

Step Seven:

Now you take the chest measurement and take your bodice fabric, fold in half and mark the top, keeping in mind of seam allowances. I also added an inch to help with stretch. Measure down from the chest measurement using the chest-to-waist measurement. Mark. Then mark the waist measurement on the bottom. Add hem allowances on the top and bottom. When you cut, it may be a slight trapezoid, depending on if the chest and waist measurements are different. Because you folded the fabric in half, you will have two pieces, a front and back.


Step Eight:

Take these two pieces and hem the top and bottom of each. Then put them together outside to outside and sew the seams on both sides. If you are using a stretchy fabric, make sure you use a stretch stitch like a zig zag. When you finish and turn it out, it will look like this:


Put the bodice aside.

Step Nine:

Take the cape fabric. I used organza. If I were to do it again, I might go for bridal illusion instead. Organza, even though pretty and more durable, is not easy to work with. It loves to roll and really cannot be ironed without a lot of caution.

Take the chest measurement and mark on both sides. Measure the length and mark. Keep in mind hem allowances if you decide to go with organza or another fraying fabric. You can cut a rectangle at this point or do what I did and angle the fabric out to make it more like a flowy cape. Hem all sides but the top if needed.

If using organza, I found that the zig zag stitch was the way to go.


Step Ten:

With the bodice turned inside out, take the cape and attach it to the top, back of the bodice. The cape will be facing up like in the picture below.


Again, if your bodice is made of stretchy material, make sure you are using a zig zag stitch and stretching as you sew. When you turn the bodice out, you will pull the cape to the outside, so the cape is attached to the inside.

Then you pull the bodice over the dress you made earlier and attach it slightly above the seam where the leotard and skirt meet.

The back

The front

And that's it. I didn't attach the bottom of the bodice to provide for more movement.

This is the final product:


And you can see it on The Girl at the beginning of this post. She enjoys it and wears it nearly everyday.

Hope you enjoy and have fun sewing this creation. My next project will be Anna's travel dress. We'll see how that goes.

Thursday, July 11, 2013

Filippo Berio EVOO


I expected to get coupons for Filippo Berio olive oil for this BzzCampaign. Imagine my surprise when what I got was a bottle of actual olive oil in the mail! Also included was a nifty butter/margarine to olive oil conversion chart magnet that went straight on my fridge.


I love olive oil and use it nearly everyday for cooking. That said, I still had some of my olive oil from another brand to use up and only recently was able to start using the Filippo Berio olive oil.

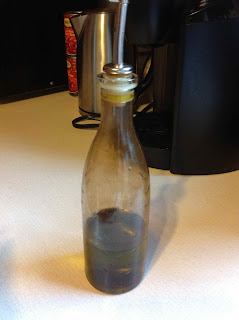
We always use an olive oil bottle for easily dispensing oil. That way we don't use too much or too little. I rarely use olive oil in baking, so I don't usually have to use a big amount.


As I said, we only recently got open the bottle of Filippo Berio. Aside from using it on the grill over the Independence Day holiday, we've used it for two things: Mozzarella, tomato and basil panini and baked chicken.


Baked chicken is a quick go-to meal for me. I make it all the time. As you see in the picture, I place the chicken in a glass dish that has been coated in olive oil and pour a bit of olive oil on the top of the chicken. Then I put a bit of seasoning on the top. I cut my chicken in strips so it cooks faster, so with this method it would be 425 degrees for 30 minutes. If you use bone-in pieces, you will have to increase the time.

The chicken stays juicy with nice flavor. If you are cooking bone-in pieces, it will leave the skin nice and crispy with juicy meat. Without olive oil, you get mushy skin, leaving the texture of the chicken a little less than desired.

The other recipe is as follows:

------------------------------------------------------------------------------------------------

Mozzarella, tomato and basil panini

Ingredients:
Fresh mozzarella (Not sliced sandwich cheese or shredded cheese, the soft cheese usually found in the cheese department or dairy case.)
One large tomato (I prefer heirlooms.)
Fresh basil
Crusty bread (We used a Tuscan bread.)
Fillipo Berio olive oil

Lightly coat panini press in olive oil and heat the press.
Brush one side of two slices of bread with olive oil. Place one piece on the press.
Layer a thick slice of mozzarella with a thick slice of tomato and several basil leaves on the bread. Top with the second piece of bread. Lower the top of the panini press until the sandwich is warm and toasty.

------------------------------------------------------------------------------------------------

This was the perfect recipe for olive oil. The flavor was light and pleasant and worked well with the simple ingredients of the panini.

I liked Filippo Berio olive oil. I'm not sure I would buy it in the future because I've used other EVOOs that have a nice flavor that don't cost as much.

Overall, thumbs up!


Friday, March 8, 2013

Garnier Skin Renew Clinical Dark Spot Overnight Peel: Week Four

So, it's been four weeks of using Garnier Skin Renew Clinical Dark Spot Overnight Peel.

The positives:

  • It went on smooth.
  • It has a pleasant smell.
  • A little goes a long way.
The negatives:
  • It didn't seem to fade anything.

Even though there are more positives than negatives, since this product is supposed to fade dark spots, I would say it didn't do what it was supposed to. In my before and after photos below, you will notice the red spot on my left cheek didn't fade at all. And this is a newer scar, not an old one.

My verdict: I would've gotten the same or better results using lemon juice.

Try it if you like, it may work out better for you, but at a suggested price of $16.99 for a small bottle, you may be happier with the 48 oz. bottle of lemon juice for around $5.


Before


After


All in all, I am happy to start using my regular nightly moisturizer. And you know what does work? It sucks, but it's makeup. Here I am with makeup:


Saturday, February 16, 2013

Friday, February 15, 2013

New T-Shirt Design

Another new T-shirt design to Elf Creative Designs! It's perfect for your little one that is celebrating a first birthday.

Splish Splash!


Garnier Skin Renew Clinical Dark Spot Overnight Peel: Week One

This multi-week review is taking a lot of courage for me. I don't like pictures of me sans makeup. I don't have the greatest skin, so makeup is my friend. But when BzzAgent sent me Garnier Skin Renew Clinical Dark Spot Overnight Peel, I knew I would have to show before and after pictures to really review this product. So here I am a week ago with the before picture:

It really is hard to see on a computer screen, but the dark spots that bother me most are acne scarring, mostly on my cheeks. I exfoliate and use scrubs and experiment with new products. I've never tried a peel before, mostly because I'm afraid of the redness they may cause. Garnier promises this product is gentle, and I used it in combination with Garnier Skin Renew Clincal Dark Spot Corrector.

A week in, I haven't noticed much change. I like the lightness of the peel. It doesn't have a strong smell. It's easy to apply. And so far, I don't notice any redness that I thought a peel might cause. I do kind of miss my nightly moisturizer, though.

New Design Added to Elf Creative Designs

I've created a new little baby bodysuit for my Zazzle store. Check it out!

Sweet Pea Bodysuite


Wednesday, August 1, 2012

Sirius Skin Sonic

I've wanted a Clarisonic for a while, but the price has been prohibitive, so when I saw a Groupon for something similar, I decided to chick it out. I read some reviews. All were positive. It usually sells for $50. The Groupon was for half-off, plus I had some Groupon Bucks, bringing the Sirius Skin Sonic down to $18.

I was very excited to try it out. And now that I've been using it for about two weeks now, I thought I would write about my first impressions.

The device is easy to use. It takes two AA batteries and each of the different heads pop on and off easily. It can be used wet or dry, but I only used it as part of my nightly routine, not in the shower.

I used the normal brush and my usual products. I followed the directions for use.

The results have been okay so far. The thing I've noticed most is how smooth my skin is now. I haven't seen a difference in my pores or acne scarring, which is something many people online raved about. I hope to see some improvement on that with further use.

The biggest downside I see is that you have to replace the heads every few months.

I will continue use and write an update in a month or two. If I'm enjoying it, maybe I'll slap down the money to buy the real thing.

The product: Sirius Skin Sonic

Keurig Brew Over Ice K-Cups

I am not a coffee drinker. I don't like it. It's bitter and makes me gag -- even the flavored stuff. So it actually made sense that my husband buy a Keurig single-cup coffee maker when it first came out about 10 years ago. He doesn't drink tons of coffee and is very particular about the coffee he drinks. Regular multiple cup coffee pots meant a lot of wasted coffee.

Plus, with the Keurig, I have the option of many non-coffee drinks, like teas and cocoas. Not to mention, I can use it to make a cup of hot water to brew my own favorite teas.

Now Keurig has K-Cups that you can brew over ice to make your favorite iced coffee and tea drinks. The best thing is that they are already sweetened, so it's just brew and go.

I was happy to try them when BzzAgent sent me some free samples to try. I can't tell you mcuh about the iced coffee. I gave it to my husband whose review was: "It's okay." but I tried the teas -- Half and Half (lemonade and tea) and Southern Sweet Tea. I normally like half and half -- or as we call it around Western Pennsylvania, an Arnold Palmer -- but I wasn't impressed with the K-Cup. It had that weird dehydrated, concentrated lemon flavor that I'm definitely not a fan of. When I buy bottled iced tea, I always go for teas without lemon. I really don't like that taste. (Fresh lemon I do like, though.)

On the other hand, I like the Southern Sweet Tea. And the reason I liked it was because it didn't taste so sticky sweet as typical Southern-style iced tea. It was perfectly sweetened.

My recommendation for brewing these K-Cups is different from what Keurig recommends. Keurig recommends filling your desired cup size to the brim with ice before brewing. I found that the tea/coffee overflows before it finishes brewing when you do it that way. I found if you fill your cup with ice only about two-thirds of the way, it won't overflow and you can always add more ice if you need it.

I also recommend waiting to drink you coffee/tea. If you drink right after brewing, it is lukewarm and not very good at all. Let the ice melt until it gets to the proper coolness for you. And, as I mentioned before, you can always add more ice.

Would I buy a box of these? Probably not. It's just as easy to brew regular tea and add ice and sweetener to you liking. But for those people who would like their iced drink on-the-go, it isn't a bad deal.


Wednesday, June 27, 2012

Dr. Scholl's for Her High Heel Insoles

I don't often wear high heels. I work on my feet, so they just aren't very practical. But when BzzAgent sent me a sample of Dr. Scholl's for Her High Heel Insoles, I thought I would try them out during a short shift (four hours). I chose a normally pretty comfortable and well-fit pair of four-inch platform heels, but they have a wooden sole, so they can make my feet pretty tired.

I made it less than two hours. I know I would've done better without the insoles. I usually can go a few hours with those shoes.

I have wide feet, so I think that made all the difference. The bottom of my feet were comfortable, but the shoes were digging into the tops and sides of my feet, which they never do.

I would say these are made for women with narrow or average width feet. That's not me.

So, if you have average width feet, try these out because the bottoms of my feet were comfortable. Perhaps if I had had a little more wiggle room in my shoes to begin with, I would have been fine.

The other thing I didn't like was that they made my feet sweat. I think that bothered me more than the pain.

Wednesday, May 30, 2012

Fettuccine with Chicken in a Creamy Pesto

Fettuccine with Chicken in a Creamy Pesto

This is another invention based on what I happened to have in the house. It must have been pretty good because my three-year-old daughter ate it.

1 lb. fettuccine
2 large boneless, skinless chicken breasts (approximately 12 oz.), cooked and chunked
1 large pepper, chopped
1 medium onion, chopped
2 medium tomatoes, diced
1 jar of basil pesto (or make your own)
1 can of cream of mushroom soup
parmesan cheese

Cook and chunk the chicken however you desire. This is a great way to use up leftover chicken.

Cook fettuccine according to package directions.

Saute pepper and onion in about 1 Tbl. of olive oil.

Mix pesto, soup and chicken together. Warm up on low heat.

Throw everything together in a large bowl. Mix and serve with parmesan cheese.

Tuesday, May 29, 2012

Semi-homemade Beefaroni


Semi-homemade Beefaroni

I love skillet meals. I threw this together one day and it came out pretty well. I decided to share the recipe.

1 lb. ground beef
1 medium onion, chopped
1 medium green pepper, chopped
1 clove garlic, chopped
14.5 oz. can diced tomatoes
8 oz. can tomato sauce
1 package macaroni and cheese

Brown ground beef in large skillet. Saute onion, pepper and garlic in about 1 Tbl. of olive oil.

Add vegetables to the beef. Add diced tomatoes and tomato sauce, stir.

Add cheese mix from the macaroni and cheese, stir.

Stir in the macaroni and let simmer for about 15-20 minutes until the macaroni is cook through, stirring occationally.

Tuesday, November 1, 2011

Miss Piggy?

I saw this girls hat/shirt combo and thought is was wrong in so many ways. Alone, the hat is cute. Alone, the shirt is cute. Together, it's just wrong. Imagine if you were a 10-year-old girl wearing this. That's bad enough. Now, imagine if you were a 10-year-old girl with a weight problem wearing this.


Get the picture?

Let me know your thoughts.

Friday, October 14, 2011

Bad Hair Day? Break Out? No Problem! Just swap heads!

About a month ago, I was walking with my daughter in Target and saw these:

Apparently, Barbie Fashionistas dolls have heads that can be switched out. I found it to be a little creepy...

Your thoughts?

Thursday, October 13, 2011

Burt’s Bees Sensitive Facial Cleanser and Sensitive Daily Moisturizer


I was sent Burt’s Bees Sensitive Facial Cleanser and Sensitive Daily Moisturizer to try out. Both products are 99 percent natural, fragrance-free and hypo-allergenic.
I’m a content reader when it comes to my skincare. I was a little nervous because I saw that both products contain oils, and I try to stay away from products with oil. I have sensitive skin, but I also have oily combination skin. But I do like the idea of natural products, so I decided to try it out for a week to see how I like it.
First the cleanser: (FYI – If you’ve used natural skincare products, you know that they don’t have the ingrediant that makes other products bubble or foam.  The consistency is more like a scrub or mask.)
What I liked:
The scent was light and pleasant. This is important because the product is fragrance-free and how it smells depends on the ingredients. With a natural product, it could do a great job, yet be kind of stinky. It rinsed off nicely and didn’t cause any redness or irritation.
What I didn’t like:
It wasn’t very good at taking off makeup. I only wear a mineral makeup, so I would hate to see the leftovers if I wore liquid foundation and powder. Thank goodness I always follow up with toner. Probably because of this and the oils in both the products, it made my skin break out. And it wasn’t the monthly breakout of one or two big zits, it was a bunch of tiny zits all over my face and neck. They were easy enough to hide with makeup, but still annoying.
The moisturizer:
What I liked:
Again, the scent was light and pleasant. Once I figured out the right amount to use (a quarter of a pump), the moisturizer went on smoothly and didn’t leave my face shiny.
What I didn’t like:
The fact that it contains oils and doesn’t contain a sunblock bothered me. I have fair skin, so I always use a moisturizer with an SPF of at least 15. And again, I broke out.
Final thoughts:
I am not saying not to use these products, I am just saying that they were not for me. I would completely recommend this to a person with sensitive, but normal to dry skin. It was not for oily or combination skin. If Burt’s Bees could make something for sensitive skin that removed makeup and that was also oil-free, I would buy it.